Hardwood flooring is my all-time favorite, as it provides a warm atmosphere and a retro but natural look. However, I realized an issue with the hardwood floors in my home over time: they all develop splinters over time!
After several days of consideration, I decided to begin a DIY project of hand scraping the wood floors. Surprisingly, the result turned out beyond my expectation! As hand scraping not only eliminates all fragments but also gives my house a fresh new look!
If you are facing the same matter or seeking a way to refresh the look of your old wood floor, take my easy-to-follow instructions to learn how to hand scrape wood floors appropriately!
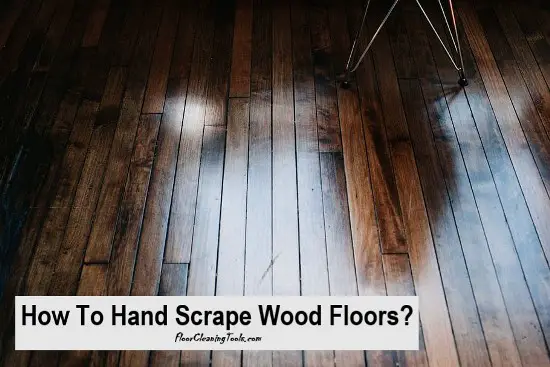
Table of Contents
My Detailed Guidance On How To Hand Scrape Wood Floors
What Are Hand Scraping Wood Floors?
Hand scraped wood flooring is a popular choice for those looking for a slight change in their flooring. This sort of wood flooring, as the name implies, is wood flooring that has been manually scraped to look old, distressed, and worn.
Hand scraped wood floors come in a range of looks, each with its uniqueness that adds to the appeal of the wood flooring.
What Tools And Materials Needed?
Before detailed instructions, I will list out what supplies I used to hand scrape hardwood floors. Bring the list while shopping in case you have to take more trips to the grocery store. Let’s take a look!
- Carbide-blade scrapers with built-in handle
- Wax
- Knee protection or pads
- Gloves
- Extra blades
- Random orbit sander
- Drying or varnish oil (linseed, tung)
- Lambswool applicator, roller, or brush
Procedure
Step 1: Start With Scraping From The Floor In Line With The Boards
Have you prepared all the essential tools and materials? If yes, let’s move to the first stage of the hand scraping process!
I began with scraping my wood floor in the direction of the boards (remember to not rub across the grain). Then, moved across the room in a 16-inch-wide swath (3 or 4 panels) before scraping the next 16′′ width, slightly overhanging the previous work.
Here is a tip that can make your work go a little bit more smoothly: Stain the floor dark or clean it with a moist cloth before scraping in order to spot the missing place.
Step 2: Scraping Until The Wood Is Bare

In the following step, I continued scraping the floor in the same way until it was completely clear from the finish. You should notice small fluffy mounds of wood scrapings during the progress, which you need to finish accumulating.
Once scraping becomes more complex, or the scraper does more sliding than the main task – scraping, it’s time to change the blade! When the wood turns bare, stop scraping!
Step 3: De-emphasize Scratches Or Remove Obstinate Remnants Of Finish
After I have completed the two most complicated parts of our project, I will use a small, handheld orbit sander to run over the floor, remove stubborn finish fragments, or de-emphasize scratches.
Specifically, I used a tiny sander and a vacuum cleaner to “even out” the entire wood floor. To keep safe, I recommend that you put on hearing protective gear and a safety mask.
Step 4: How I Created A Good Finish For My Hand-scraped Floors?
There is one small fact: If the floor is not flat, it will impact everything! Ridges and valleys can be found here. You could use any finish on those floors and get a good result. However, the time and techniques required for each product will vary significantly.
Moreover, drying and varnishes oil are two prevalent finishes that are both long-lasting. Supplies I used to apply varnishes are a lambswool applicator, a brush, or a roller. The second finish cover is applied one day later and done on a sunny and windy day with the windows open.
Additionally, drying oil, liquid, or paste wax is also an effective way to restore sheen as well as creating an extra protection layer.
The Bottom Line
I guess that you’ve learned how to hand scrape wood floors effectively through this article. Believe me, though hand scraping hardwood flooring will take time and effort, the techniques are simple, and the results will satisfy you!
With careful preparation and a little elbow grease on the weekend, kick-off this DIY to transform a room and save some costs! Also, remember to prioritize your safety by preparing hearing protective gear and a safety mask while doing the task!
I hope that you have an enjoyable and successful project!
Can you apply my tips to hand scrape the wood floors? Are there any challenges during the project? Share with us your experience!
Related Post:
- Watch Out For: When Are Hardwood Floors Beyond Repair?
- How To Clean Unfinished Wood Floors (The Secret in The 2nd Section)
- Can You Use Bona Hardwood Floor Cleaner On Laminate?
- Can You Clean Wood Floors With Bleach? Is It Safe To Do That?
Image by Wood By Wright