If you are in the midst of a bathroom renovation and wonder how to cut vinyl tile around toilet, look no further! This article will teach you everything you need to know about cutting vinyl tile.
I’m not going to lie, this is a pretty difficult project. But it’s also really rewarding when you’re done.
I’ve been through the process 3 times now, and each time has been easier than the last. It all starts with a good plan and a lot of patience!
Table of Contents
Why Should You Use Vinyl Tile Around Toilet?
Vinyl tiles are a great way to cover your bathroom floor without having the hassle of installing tile around toilets. These durable and long-lasting surfaces can be up for 20-25 years, so you will not have any worries about them getting damaged or worn out in just one go.
You might think the process is complicated. But even an inexperienced homeowner can manage it well if they follow some easy steps below.
How To Cut Vinyl Tile Around Toilet?
If you want a quick and easy way to cover your bathroom floor, then vinyl tiles are perfect for the job. The only challenging part about laying them out is to fit all those little squares around our toilet bowl.
Luckily, there is an easier way with patterning. Make sure to cut out on paper before cutting into real-life surfaces so as not to have any unnecessary waste material or cuts where needed.
Tools You Will Need
- Vinyl Tiles.
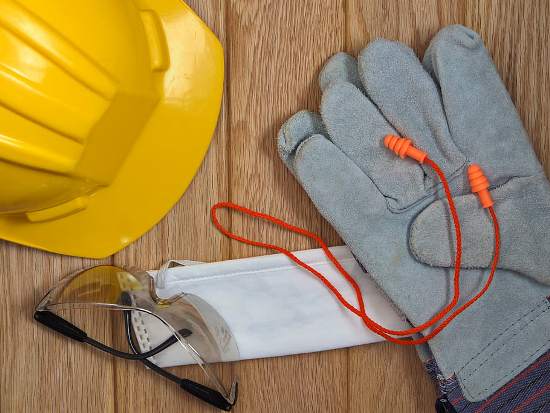
- Safety glasses or goggles.
- Newspaper.
- Protective gloves.
- Scissors.
- Pencil.
- Sticky Tape.
1. Trace And Cut The Tiles
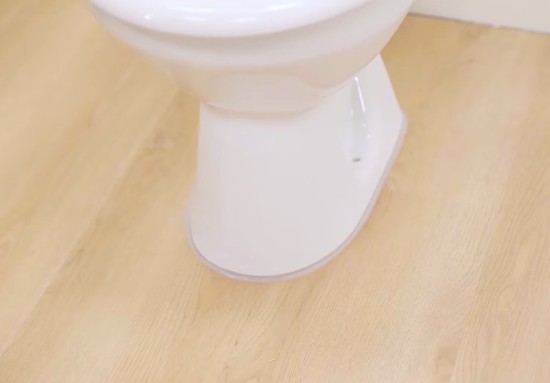
To start with, it’s best to plan on how you’ll be tiling your bathroom. Make sure to create gridlines on both sides of where the tile will go so that you won’t have to deal with so many angular/circular shapes.
Don’t allow any narrow space between the surrounding tiles’ edges and your toilet’s base, as it will be super difficult cutting out such small pieces.
It’s better to remove the toilet before the job and only put it back when you’re done. This way, you’ll have a more precise cut in only seconds. Nevertheless, uninstalling and installing the toilet may be a challenge, so go with the first choice of tiling around it unless you’ve mastered it.
If your toilet’s base is flush against the wall, you may need to remove the toilet to access the tiny space between it and the wall.
2. Create A Template
To make a template for cutting tiles, you should use sheets of paper that are the same size as one whole tile.
If your sheet is too large? Cut it into pieces, with each piece fit one tile. You’ll need to install them around the toilet’s base.
Estimate which parts of each tile that you will need to eliminate. Then try to transfer these estimations into the sheets.
When cutting, it is best to overestimate the amount of material that has to be eliminated than to underestimate it. I used to create parallel slits, and each slit is 0.25 inches (0.64 cm) from the other. It would help if you only cut those areas that fall into your estimated areas.
Still, as I said, be generous and cut the slits a little bit deeper so the sheet can easily fit in without any trouble.
After you’ve finished cutting the sheet, apply it to the toilet’s base. Remember to let the other corners of the sheet (those that you didn’t cut earlier) fit just fine in the spot. Those parallel slits will meet the toilet. There you’ll be using your hand or your pen to create the crease line where the subfloor approaches the base.
Repeat the process for all the other places where you need to fit your tile in.
In addition, it should be a great idea to use plastic spacers to spare space for grout later on.
Now you’ve got your sheets with crease lines, cut out all the slits that are on the other side of the line. To make sure your templates are accurate, put them around the toilet’s base and see if they fit in well within these spots. Once again, don’t forget to account for the grout you’ll be applying on in the future.
3. Cut Out The Tiles
After having a template, use it to mark the tiles. With a pencil, you trace and scribe the lines that need to be cut. Use a scriber tool to score 0.125-inch deep lines in the tiles and trace over the pencil lines.
Tile scribes look like thick pencils or come in various shapes. You can find them at hardware stores or online.
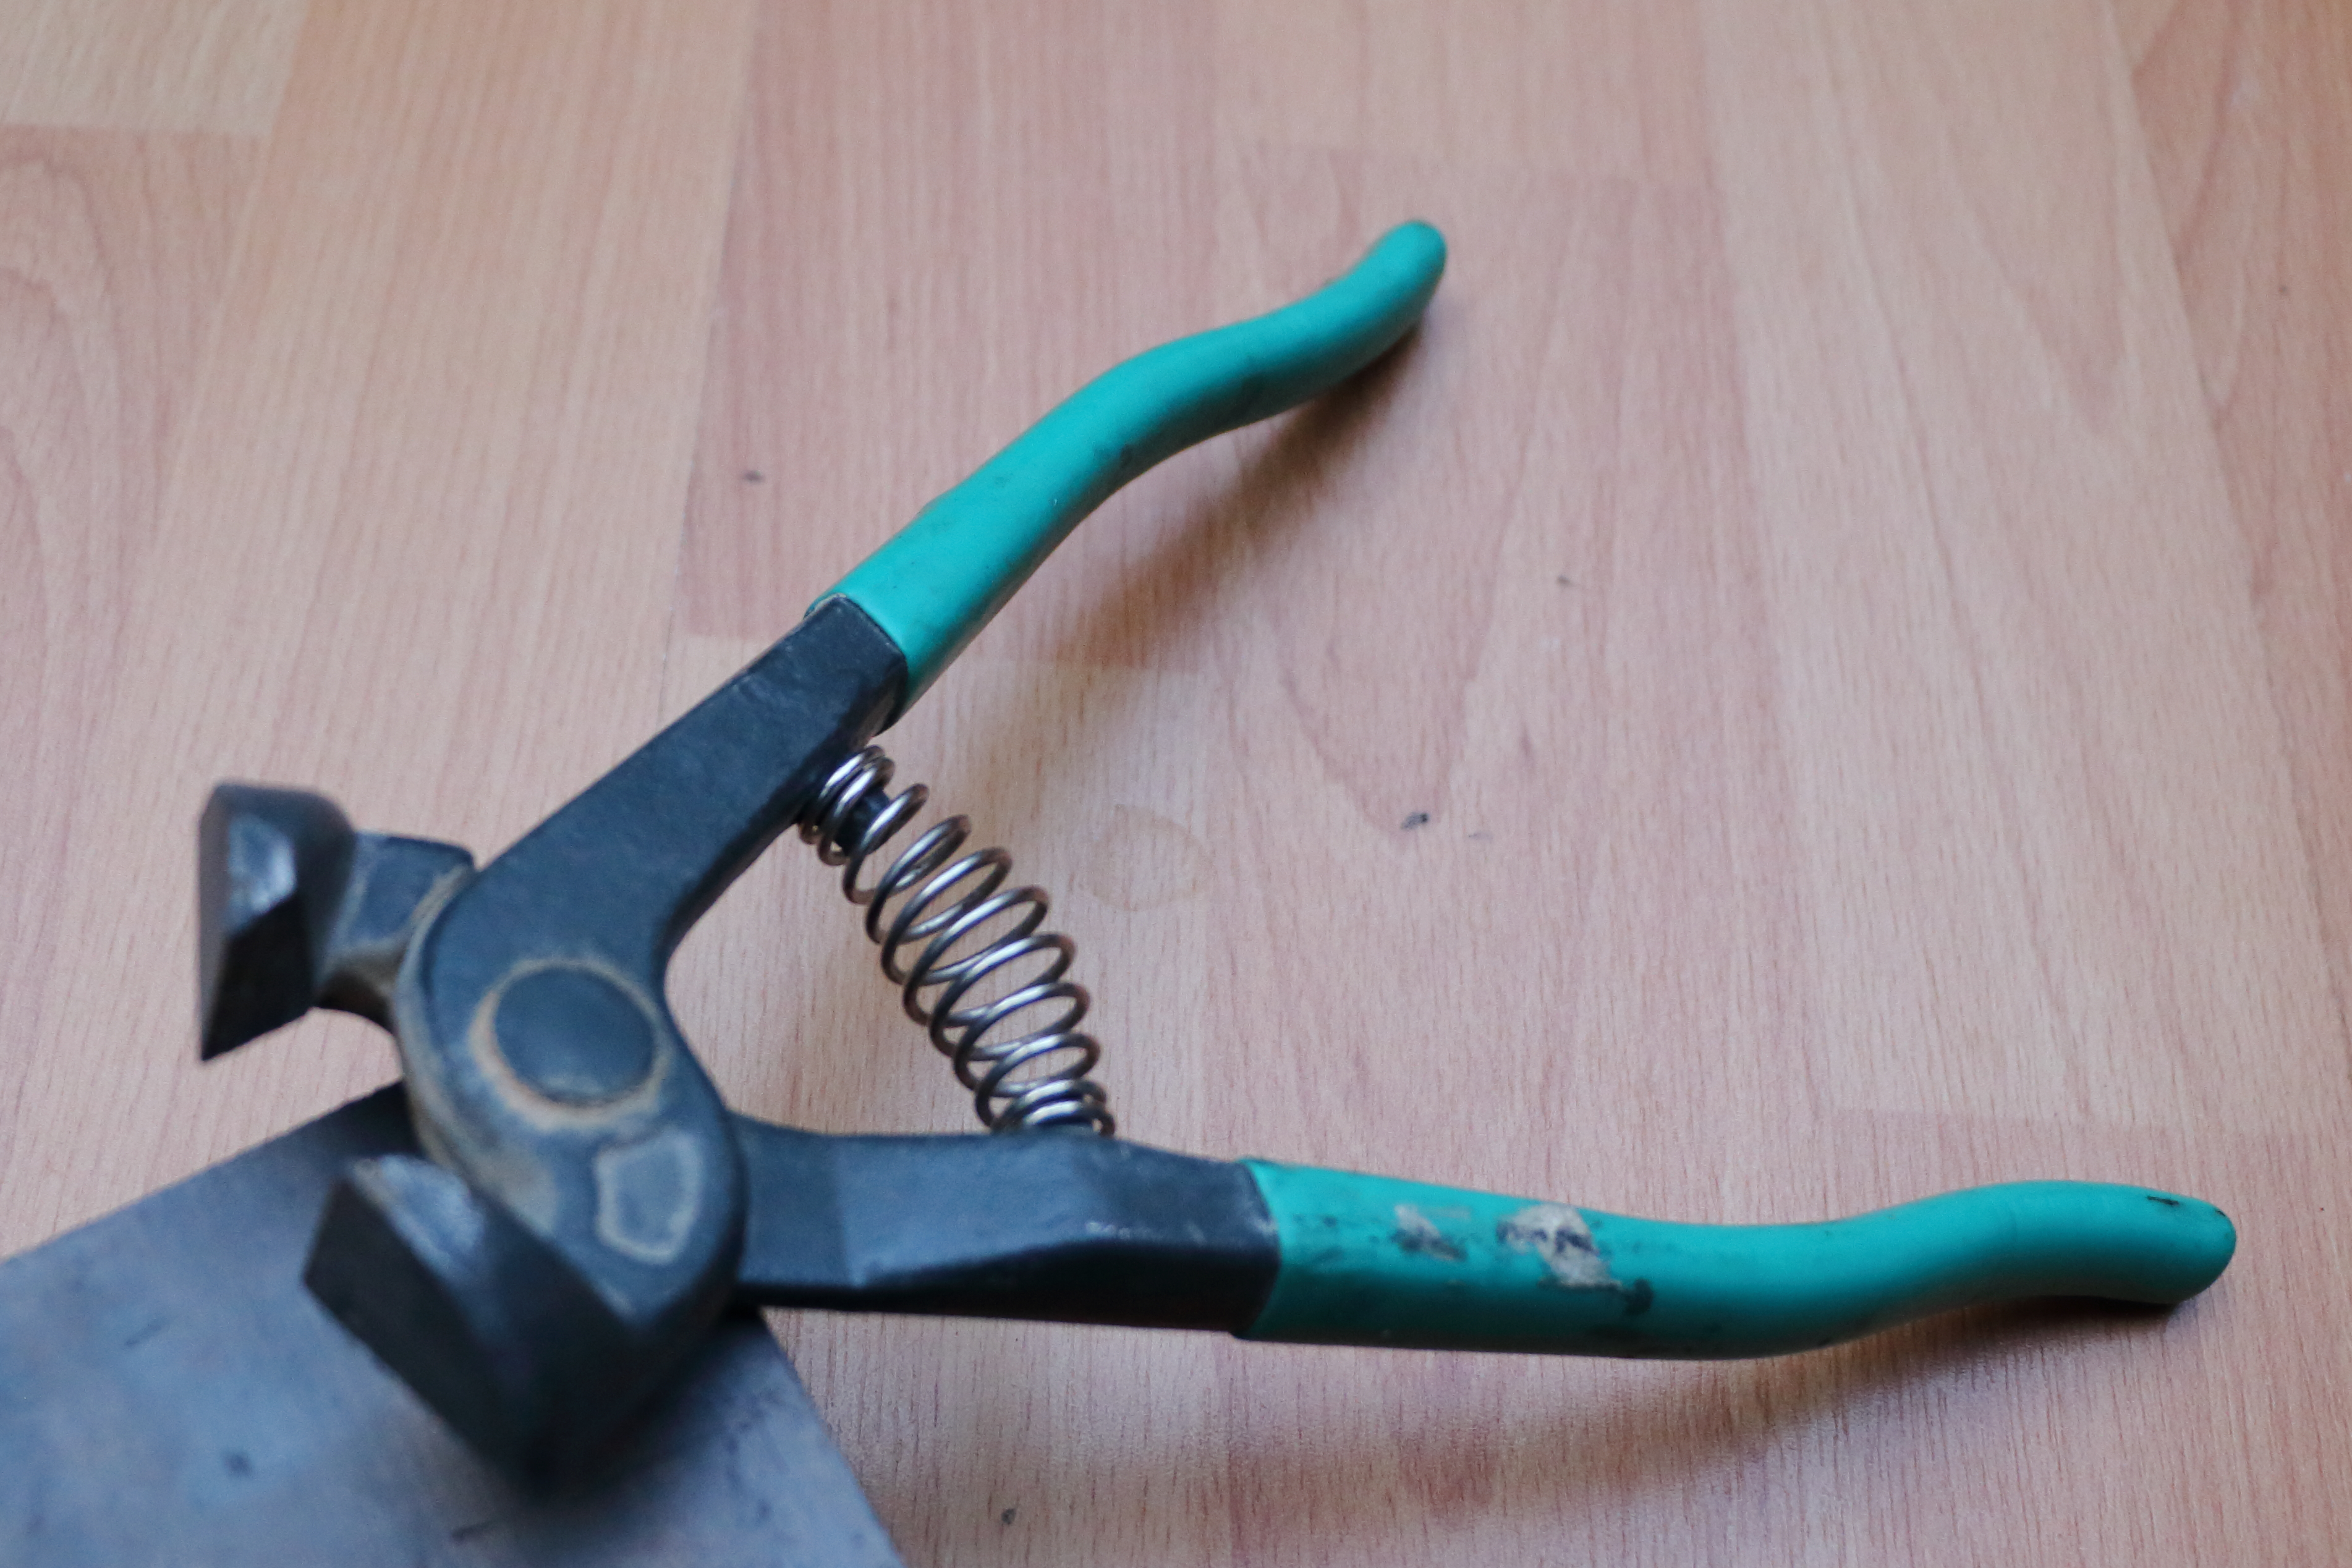
Remove the unnecessary tiles with tile nippers. Squeeze the handles slowly and gently to remove small bits of tile that need to be removed. Be patient and remove small bits at a time, as removing large areas can result in breaking your tile. You don’t want to redo the process, do you?
In case you’ve never used tile nippers, they are necessary tools for any job with tiles. They look like giant fingernail clippers and work the same way.

You can cut ceramic and porcelain tiles with Standard nippers. However, if you are working with glass or delicate stone tiles, you should utilize specialized nippers.
Wearing safety glasses is a must to protect your eyes from shards of the tile, while robust work gloves protect your hands from the sharp edges of tiles.
4. Smoothen The Tile Edges
Use a tile file to smooth any rough edges. Then use a damp cloth to clean off any dust that might have been created when you were smoothing the edges.
After you cut, fill, and clean the tile, make sure they fit snugly against the toilet base. If the tiles do not, you need to keep cutting or find a new tile and start from scratch. Otherwise, it is time to put them in place for good.
5. Install The Tiles
When tiling your bathroom floor, start at the area farthest away from the toilet. You can also draw lines on the floor to show where you want to put tiles. Then place tiles over these areas first.
Also, it’s notable how to tile the toilet flange. It’s the circular piece that attaches to the drainpipe and on which the toilet rests.
Draw a grid on your paper and on the floor to help you decide how many cuts you will need to make. If you are using large tiles, like 12 by 12 inches or larger, you can get a complete circle out of one tile that goes around the flange.
Cut out the number of pieces of paper that would fit around the flange. If one piece goes around the flange, only cut one sheet. However, if you need 4 tiles to go around the flange, cut four sheets (or more). You need to be precise when cutting out your pieces of paper.
Next, trace the outline of the flange onto your paper. Make sure to create an indent in your paper first by running your finger along its outline.
After that, lift each paper sheet and trace over the lines on the paper with a pencil. The outline you are drawing should be about 0.25 inches bigger than the creased outline.
Do not panic if you make a mistake in tracing. The toilet will rest on top of the flange and cover up any mistakes. If the flange is removable or you want to put it on top of the tiles, trace your outline 0.5 inches smaller so that it will sit on top of the surrounding tile.
To make a circle flange, use scissors to cut out the shape from paper. The paper should be about the same size as the tiles you are using. Then tape it onto them and trace around it with a pencil.
Do not throw away this template sheet of paper because you may need it later.
If you want the toilet flange to be removable and resting on top of the installed tiles, you would better remove it before dry-fitting and placing the tile.
Consequently, you can permanently place the tiles on the floor if they dry-fit snugly to the lines.
Tips
To prepare for tiling around a toilet, tile the rest of the room first. Since tiling around the toilet and any other obstacles is the hardest, leave it last until the rest of the tiles are dry.
The easiest approach to tile around a toilet is to make an accurate paper template. This way, you can work off of it and know how the tiles should be cut.
Conclusion
There are many ways on how to cut vinyl tile around toilet. With the experience of someone who has done that at home, I think the above process is relatively easy for beginners. All you need is care and persistence.
I’m no expert, but hopefully, these tips will help you find the best way and materials for your bathroom and budget.
Related Post:
- Are Polypropylene Rugs Safe For Vinyl Floors? – Alternatives And Solutions
- How To Fix Vinyl Plank Flooring Separating
- Does Vinyl Plank Flooring Need To Acclimate? Is It Important?
- How To Clean Vinyl Floors With Vinegar – An In-depth Guide from Clairoliviawayman