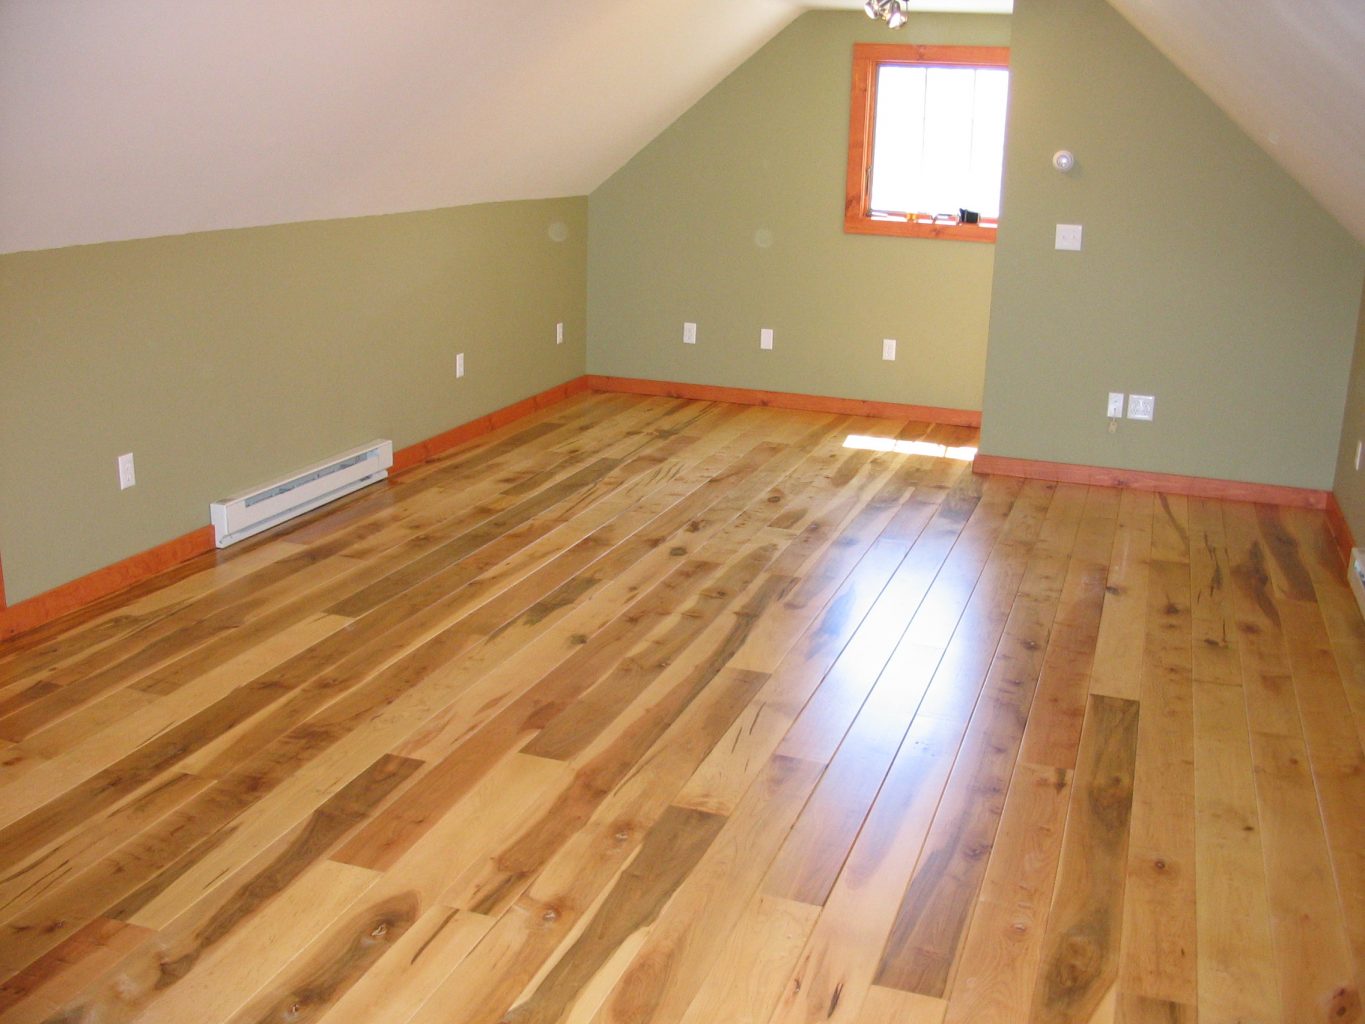
Maple is a type of flooring that I love due to its light color, high hardness, and smooth grain. Maple wood is perfectly suitable for lining modern-style houses, always ensuring the space with a clean, bright wooden floor surface and a natural look.
However, maple flooring has a distinctive appearance because it is mainly creamy white or dark to a light brown. This makes maple floors easily dirty by stubborn stains such as tea, paint, etc. Especially for long-standing stains, it isn’t easy to clean. Therefore, many homeowners have been thinking about staining maple floor.
So how do you stain it quickly and safely? Let’s scroll down!
Table of Contents
The Reasons Why You Should Stain Maple Floor
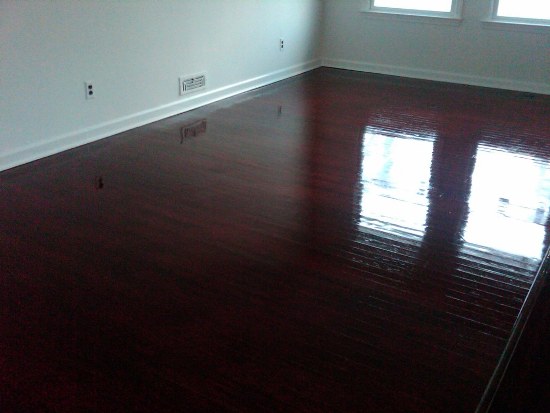
Most hardwood flooring companies will not stain maple wood because it causes holes, uneven color, and even damages if not done carefully. However, staining a maple floor will give your home a cool depth and colors distinguishable from other wood.
Another reason I prefer dying maple wood is to save money. With age-old stains that can’t be removed, you can stain your maple wood instead of installing new flooring. If dyed properly, your floor will look brand new, and you can also save some money.
Choosing the Stain
Depending on the type of maple, you should choose the corresponding stain so that the stain works as well as possible, avoiding damage to the maple floor.
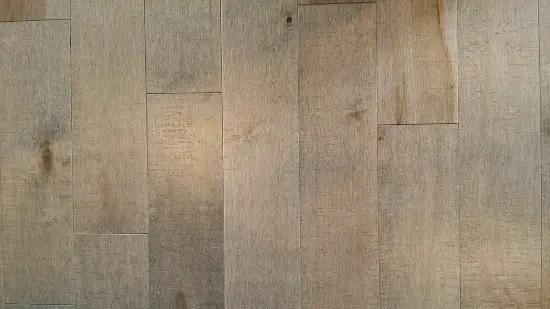
When choosing a stain color and type, you should assess how the stain will react to your maple wood. Light stains bring out the natural elements of the wood, making it suitable for hard maples. In contrast, heavy stains produce a more even tone and are better suited for soft maples.
It would be better to avoid water-based stains. Although they are much easier to clean than lacquer or alcohol stains, the wood will be more likely to warp and peel.
Steps of Staining Maple Floor
1. Sand The Maple Floor
Sanding a maple floor is the first step when staining a maple floor. For effective floor sanding, you must learn about the elements of maple. Unlike other woods, maple has a light color and closed grain.
Furthermore, maple is very light so that you won’t see scratches on its surface easily. You need to use a spotlight and look closely at the maple face. Even if you’ve polished it, it’s also hard to see the painted part. So it’s better to have someone else help you check while you’re polishing the wood floor.
I often start my sanding at 60 grit. Because maple is quite hard, and it has a closed seed. If you put lower scratches in there, you won’t be able to remove them. Before starting buffing, you need to keep working grit up until at least 100.
2. Clean Up The Floor
After sanding is complete, you must clean the floor thoroughly. Because maple is light in color, stains or dust left on the floor will be more obvious when you stain the floor.
So to clean it, you have to sweep and dust it at least twice to avoid residual dirt on the floor. It is better to use specialized vacuum cleaner products specifically for maple floors to suck up dirt between the planks.
Alternatively, you can clean by using a damp mop or a steam houseplant as this is very effective.
3. Water Pop The Wood
Watering the wood is an important step before staining a maple floor. When sanded, wood particles and sawdust get stuck in voids to make the wood denser and less porous. Therefore, the stain does not penetrate deep into the wood.
These voids are where water flows in. When water is poured in, they open up and allow the dye to penetrate deeper and coat the wood more evenly.
It is necessary to use the correct amount of water to prevent the wood from swelling. You should also use purified water because tap or well water has chlorine or chemicals that can react with stains or wood.
Also, you must spread the water evenly on the surface to avoid patchy wood holes in some areas. Usually, I would use a T-shirt with rubber on its end to help me spread and distribute the water more evenly and quickly.
4. Apply Stain
When completing all the above steps, you can now start staining your maple floor. Before applying the stain on the floor, it’s a good idea to try on a sample of the finish before staining the entire floor.
You need to have someone to help wipe away the excess dye. To avoid overlapping the dye on the final part, you should use blue tape.
Because the dye dries quickly, you have to work fast. Alternatively, use a conventional resin stain on the dye to keep the color and form a good protective layer from fading.
After the turpentine top coat dries, use a disinfected shellac topcoat or anything that doesn’t include a water repellent to seal the floor. Finally, you can finish the floor with a stain.
Conclusion
In addition to enhancing beauty, applying stains to maple is essential to give your maple floor extra protection and prolong the life of the wood.
Staining maple floors is easy and effective if you know how to stain it. Hopefully, the above steps will help you have a beautiful maple floor for your home.
Related Post:
- How Difficult Is It To Replace Floor Joists? Should You DIY Or Hire A Pro?
- Best Type Of Flooring For An Unheated Sunroom – Which One Will Suit You?
- How To Refinish Terrazzo Floors And Polish Them
- How To Refinish Pine Floors – 7 Steps To Have A Shiny Floor That Looks Like New